How to Use an Infant Pulse Oximeter: Step-by-Step Guide for Parents

Learn where to place the sensor, how to read the numbers, and how to get more reliable results at home
If you're using an infant pulse oximeter, chances are you're looking for peace of mind, especially when it comes to your baby's breathing or oxygen levels. But to get there, it helps to understand how to use the device correctly.
This helpful guide breaks the process into five simple steps and explains each one so you can feel more confident using your infant pulse oximeter at home.
Five Simple Steps to Use an Infant Pulse Oximeter:

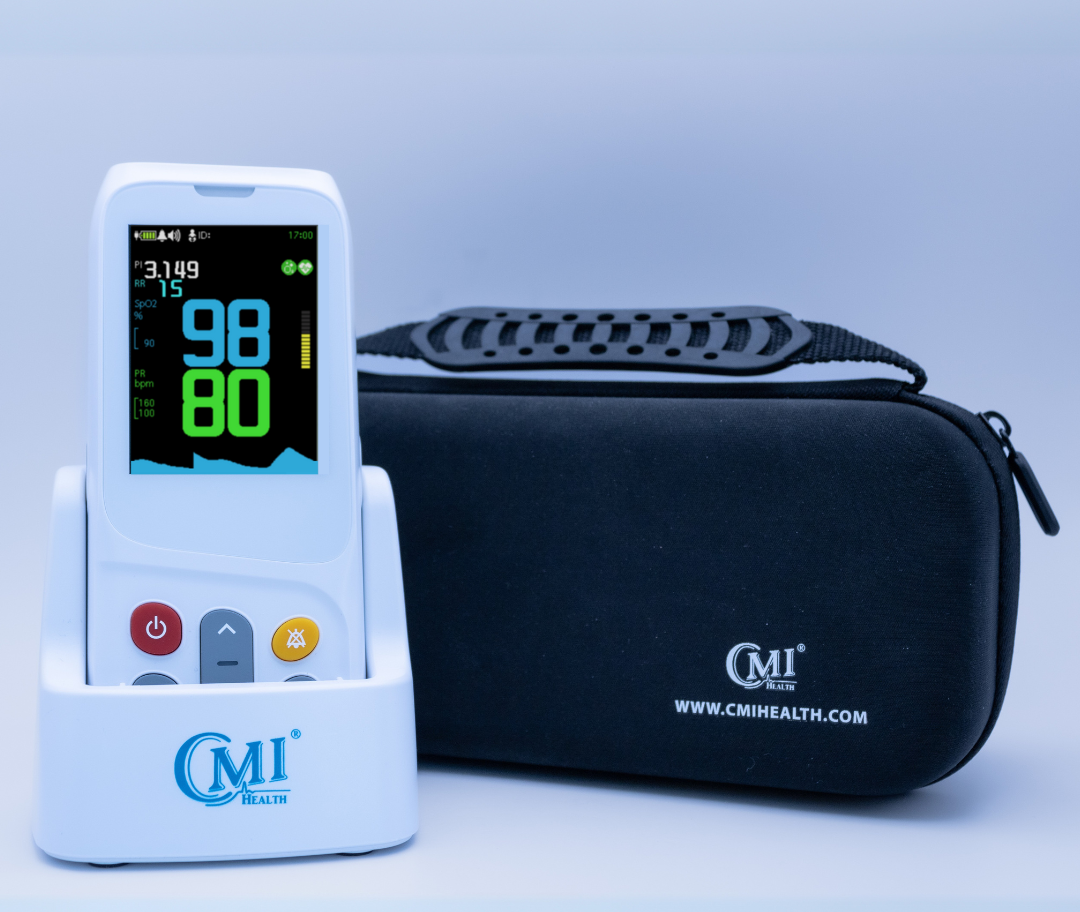
1. Choose a Pulse Oximeter Designed for Infants
The first step is making sure you’re using the right type of device. Not all pulse oximeters are designed for infants, and adult fingertip models often do not fit properly on very small fingers or toes.
Infant-compatible options are built for smaller placement areas and typically include:
-
Wrap-style sensors – soft, flexible, commonly used for newborns
-
Pediatric clip sensors – designed for slightly older infants
-
Standard fingertip devices – generally not ideal due to poor fit
A better fit usually means a more stable and reliable reading.

For more help choosing the right device, see Best Pediatric Pulse Oximeter: A Professional Selection Guide
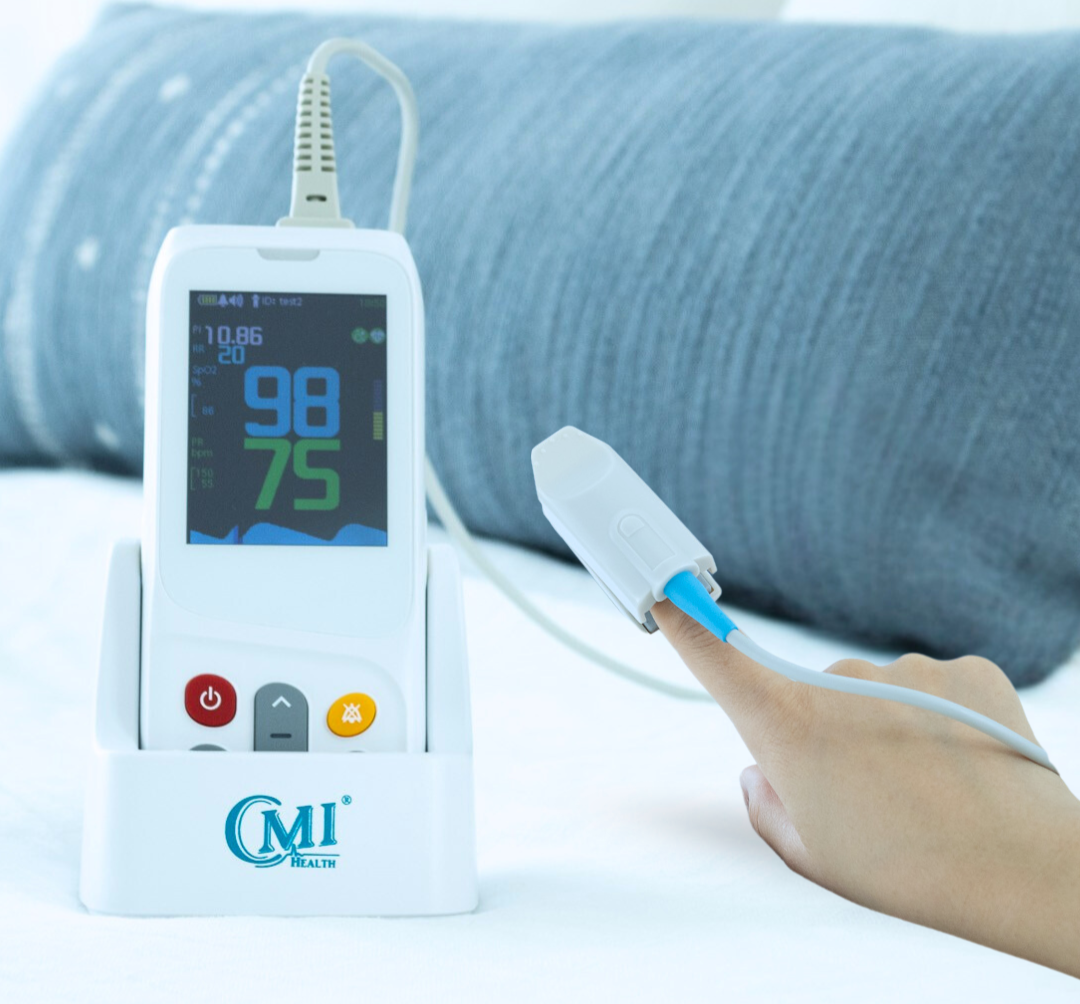
2. Place the Sensor on the Correct Area
Where you place the sensor plays a big role in how accurate the reading is.
For infants, the most common placement areas include:
-
Foot (most reliable for newborns)
-
Toe
-
Hand or finger (for older infants)
To get the best reading:
-
make sure the sensor fits snugly (but not too tight)
-
keep it aligned with the sensor area
-
ensure it stays in place during measurement
For newborns, the foot is often the most reliable placement.
For more comprehensive steps and guidelines about placing an infant sensor, see Where to Put a Pulse Oximeter on an Infant
3. Keep Your Baby Calm and Still
Movement is one of the most common reasons readings become unreliable.
If your baby is crying, kicking, or wiggling, the numbers may jump or fail to stabilize.
For best results:
-
take readings while your baby is resting or sleeping
-
avoid measuring during active movement
-
gently support the sensor if needed
Many inconsistent readings are caused by motion, not the device itself.
4. Wait for the Reading to Settle
Once the sensor is in place, give the device time to produce a stable reading.
It’s common to want to check the first number that appears, but early readings may not be reliable.
Instead:
-
wait about 10–30 seconds
-
watch for numbers to stop fluctuating
-
confirm the reading remains steady
This step helps ensure you’re looking at a meaningful result.
Common mistakes to avoid when using an infant pulse oximeter:

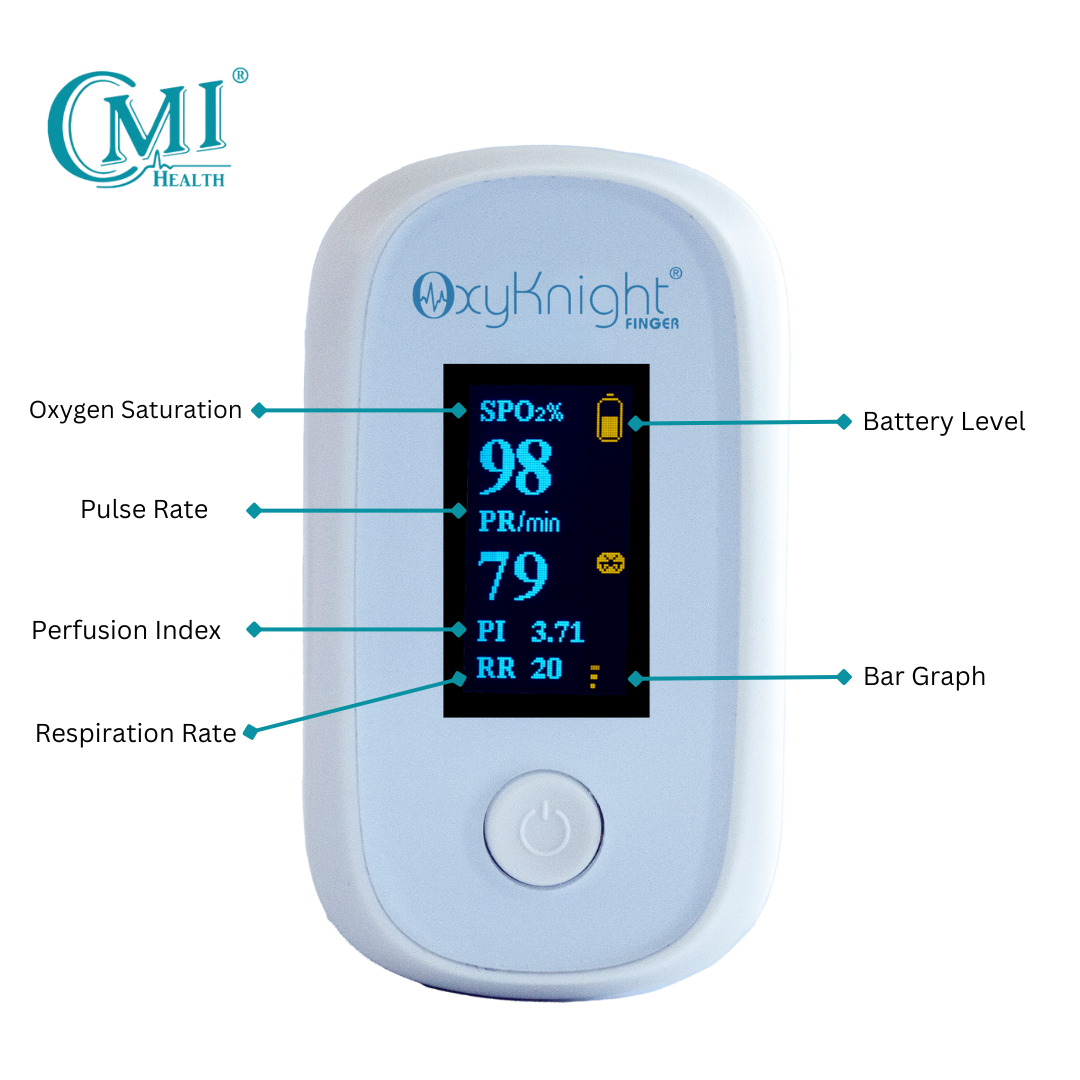
5. Check the Numbers and Look for Consistent Readings
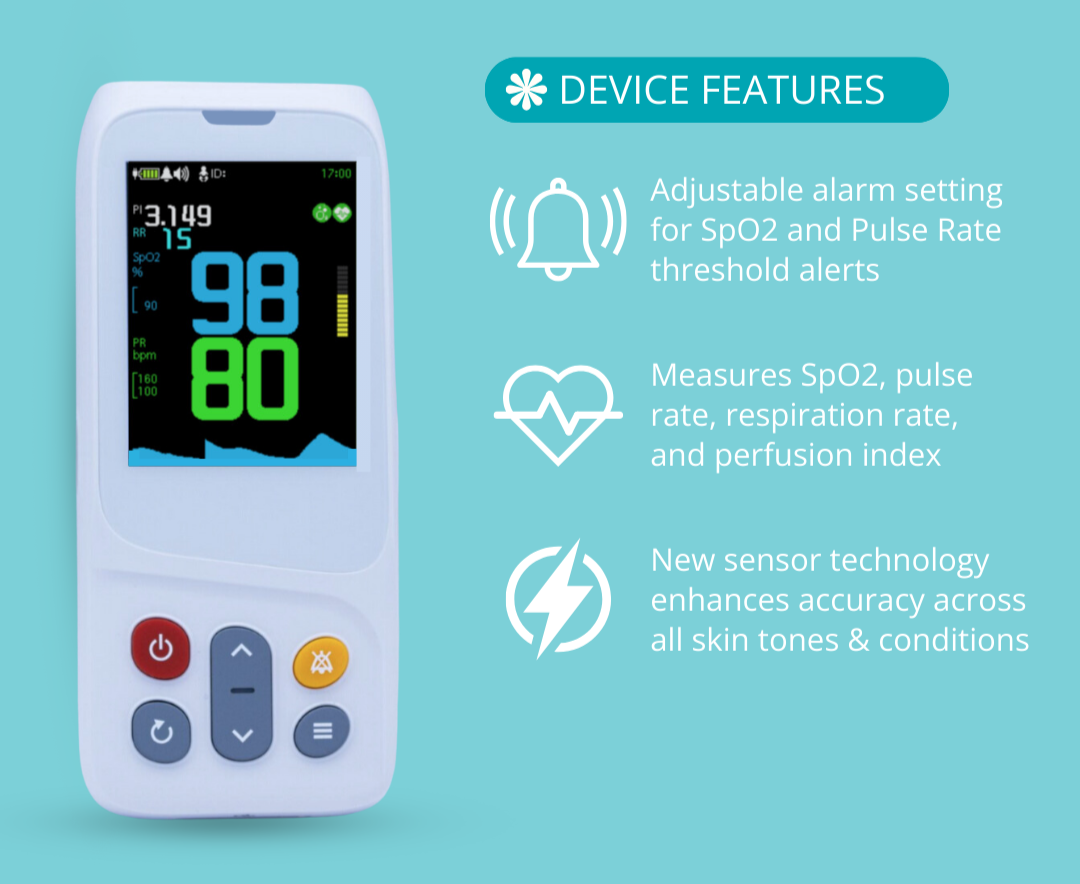
Once the reading settles, you’ll typically see two main values:

Infant Pulse Oximeter Reading Guide:

Rather than focusing on a single number, it’s more helpful to look for consistent readings over time.
For a more detailed breakdown of what these two readings mean, see Two Readings on a Pulse Oximeter
Quick tips for interpreting infant pulse oximeter readings:

Final Thoughts
Learning how to use an infant pulse oximeter can feel overwhelming at first, but it becomes much easier when you break it down step by step.
Start with the right device, use proper placement, keep your baby still, wait for the reading to settle, and then check the numbers carefully. These small steps can make a big difference in how reliable your readings are.
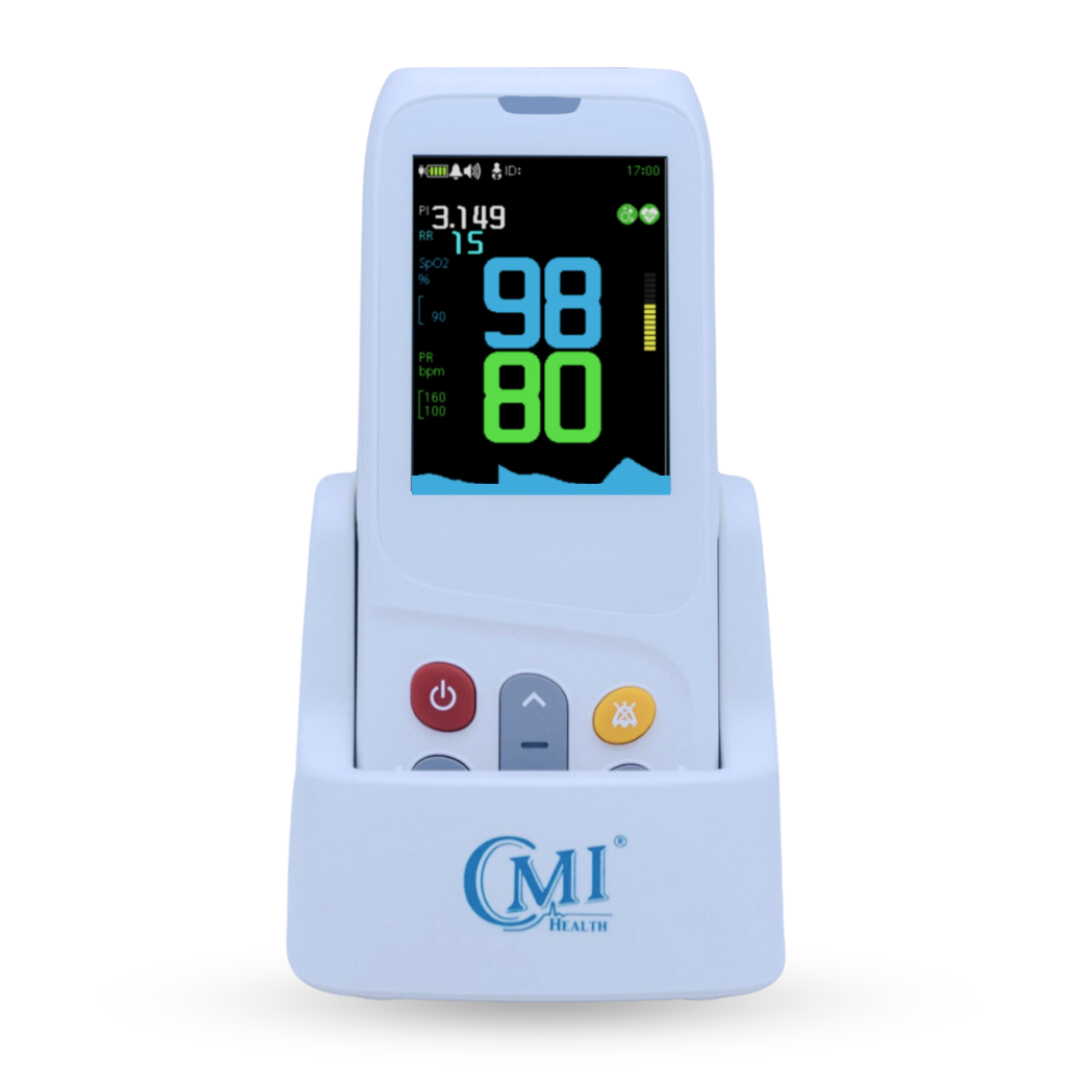
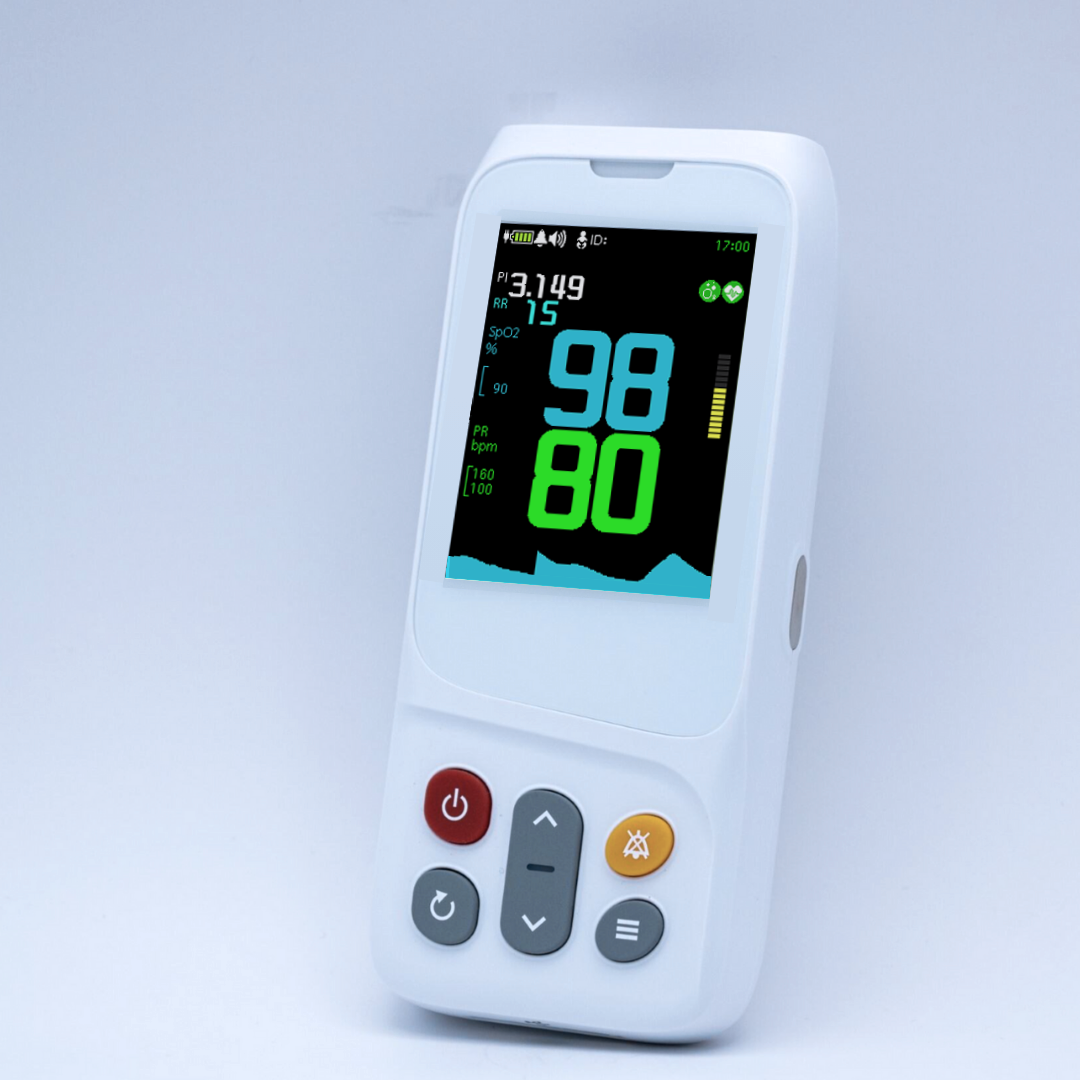
If you’re looking for a pulse oximeter designed specifically for infants, explore CMI Health’s Handheld Oximeters with Pediatric Sensors.


Leave a comment